You can get burlap by the yard at any craft store. Here I cut out a 8 x 8 square.
Step 1:To make the burlap stiff cover in Modge Podge. Let it completely dry. I think you can use a fabric stiffener spray, but I just used what I had on hand.
Step 2:I used a die cut for my butterflies. You can also hand cut with a template.
Step 3:
For a little more pizzazz, I took some cheese cloth and sprayed with Glimmermist. Let dry. Set aside
Step 4:
For the antennas take floral stamens and bend in half. Ink them up for a darker shade.
Step 5:
Glue to the larger butterfly
Step 6:Layer the smaller butterfly on top
Step 7 :
Add the cheese cloth
Step 8:
Add your center piece.
Step 9:
Using glossy accents as an adhesive sprinkle on some glitter. The will also aid in keeping the edges from fraying.
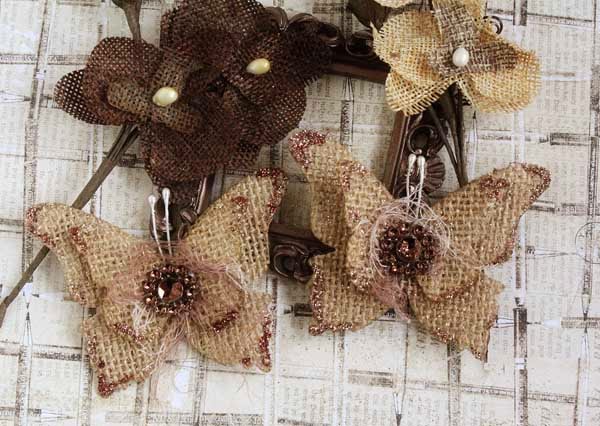
Here is the finished butterfly! Totally fast an easy!!
Here is layout I made using the butterflies. I added gesso to go with the paint on the layout.


3 comments:
Awesome, I'll have to try this. I love making my own embellies when I can :)
Paula
Your butterflies look wonderful and your layout is gorgeous.. thanks for sharing how to make the butterflies!!
Beauuutiful butterflies and gorgeous layout! Stunning work as always. :)
You have such a way with mixing light and dark, and still keeping it soft. :)
Hugs, Anne.
Post a Comment